As athletes, we’re always looking for ways to push our performance to new levels. The Isocapnic BWB is one of the most effective tools for respiratory muscle training, an often overlooked but critical component of athletic success. This article will help you understand how to determine the ideal respiratory training load for your unique needs and how to progress safely and effectively.
What Is the Isocapnic BWB?
The Isocapnic BWB is a respiratory muscle training device designed to strengthen your respiratory muscles while protecting you from hyperventilation. By maintaining optimal CO2 (carbon dioxide) levels, it allows you to train the muscles that power your breathing in a way that’s both safe and effective. Whether you’re an elite athlete or just starting your fitness journey, this tool can enhance your breath training, recovery, and overall well-being.
Training Loads for All Athletes: One Size Does Not Fit All
Athletes come in all shapes, sizes, and levels of experience, and so do their respiratory systems. Some athletes can handle only one or two sessions per week, while others can train daily or even multiple times a day. The key is to listen to your body and adjust your respiratory training load accordingly.
For beginners, Isocapnic breath training can feel deceptively easy at first but may leave you surprisingly fatigued. That’s because the respiratory system, like any muscle group, can be underdeveloped compared to the rest of your body. Pushing too hard too soon might mean your primary training (whether it’s running, cycling, or strength training) takes a hit. Don’t worry—this adjustment period is normal and temporary. Depending on your starting point, it may take a week or two, or even a few months, to build up your respiratory strength and endurance.
Start Low and Go Slow
The best way to approach Isocapnic training is to “start low and go slow.” If you’re a first-timer, begin with the beginner sessions available for free in the app. Space your sessions out by at least a day or two, and pay close attention to how your body feels during other workouts. Are you recovering well? Do you feel more fatigued than usual? Adjust your frequency and duration based on these observations.
As you adapt, gradually increase the frequency and duration of your sessions. If you’re comfortably handling three sessions per week, try moving to the intermediate programs and continue progressing from there. For advanced athletes, Isocapnic training can become an integral part of your routine, with multiple sessions per day—like a morning volume session, a pre-workout warm-up, and a post-workout recovery booster.
Progressing Your Training
Think of Isocapnic training like strength training for your lungs. If your system handles the training load easily, it’s time to increase the challenge. But if you’re struggling, don’t rush. Progress methodically to ensure sustainable growth and prevent setbacks.
Here’s a basic framework for progression:
- Beginner Stage: Start with 1-2 sessions per week using the app’s beginner programs. Rest at least one day between sessions.
- Intermediate Stage: Once you’re comfortably handling 3 sessions per week, move to intermediate programs and consider adding a fourth session if it fits your recovery.
- Advanced Stage: For experienced users, incorporate daily sessions or even multiple sessions per day. Be strategic—use morning sessions for volume, pre-main workout sessions for warm-up, and evening sessions for recovery.
Monitoring Your Progress

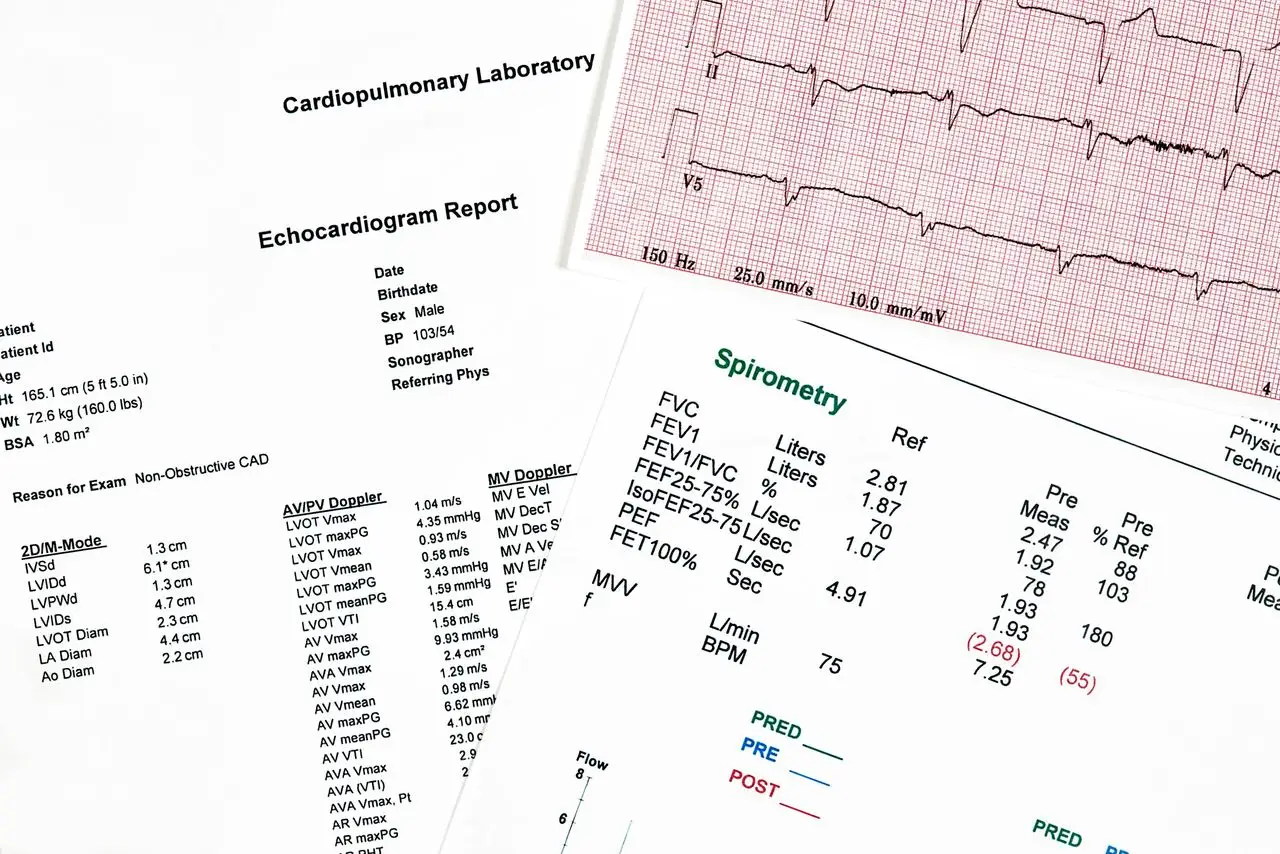
One of the most exciting aspects of Isocapnic training is how measurable your progress can be. By using spirometry, you can monitor key indicators like your FEV1 (forced expiratory volume for 1 second), FVC (forced vital capacity) and FEV1/FVC ratio. A higher FEV1/FVC ratio indicates improved respiratory strength, while an increased FVC reflects better lung capacity.
While industry standards like ECSC (European industry workers standard), GLI (Global Lung Function Initiative), and Knudson Standard provide helpful benchmarks, but they’re based on general populations and aren’t tailored for athletes. That’s why we’ve compiled thousands of spirometry tests from athletes of all abilities to create a spirometry calculator on our website. By entering your spirometry results into the calculator, you’ll get personalized feedback on your respiratory strength, lung volumes, and coordination. This will help you identify whether you need to focus on volume, strength, or a balance of both.
For now, if spirometry feels overwhelming, start with the basics and explore our articles dedicated to understanding it in more depth. These resources will empower you to track your progress and make data-driven decisions. Read more about spirometry…
Patience and Consistency Pay Off
Isocapnic training can feel miraculous, but it’s not magic. It’s a science-based approach to training your respiratory system, and like any other muscle group, it takes time and consistent effort to see results. Remember, the goal is sustainable progress, not overnight success. Trust the process, and your patience will be rewarded with stronger breathing, faster recovery, and better performance.
Get Started Today
If you’re ready to start your Isocapnic journey, download the app and dive into the free beginner sessions. With no barrier to entry beyond owning the BWB, there’s nothing stopping you from unlocking your respiratory potential. Explore the many programs available and discover what works best for your body and goals.


